
Introduction
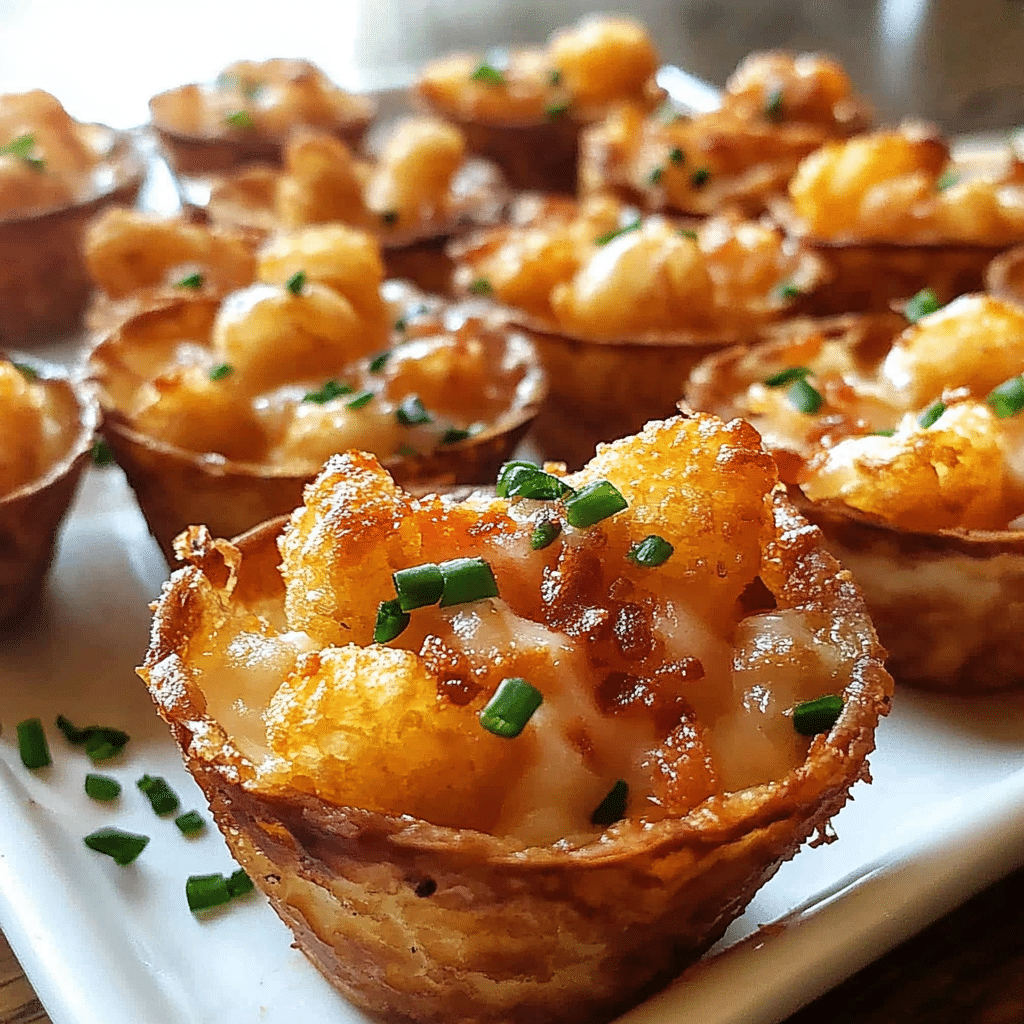
If you’re looking for a unique, savory appetizer that’s bound to impress your guests, look no further than tater tot appetizer cups. These little bite-sized wonders are a fun twist on the classic tater tot, served in the form of mini cups that can be filled with a variety of delicious ingredients. Whether you’re hosting a party, celebrating a special occasion, or simply craving a hearty snack, these appetizer cups are the perfect choice.
In this article, we’ll dive into how to make these scrumptious tater tot appetizer cups from scratch. We’ll guide you through the recipe step-by-step, explore different variations to customize the filling to your liking, and provide tips for perfecting your tater tot cups. With their crispy exterior and savory fillings, these appetizer cups will become your new go-to for any gathering or casual get-together.
Why You’ll Love This Recipe
- Easy to Make: Tater tot appetizer cups are simple to prepare with just a few ingredients and easy-to-follow steps.
- Customizable Fillings: Whether you prefer bacon, cheese, vegetables, or even seasoned meats, you can tailor the filling to your tastes.
- Great for Any Occasion: These appetizer cups are perfect for game days, birthday parties, holiday gatherings, or a fun snack to enjoy while watching your favorite show.
- Crowd-Pleasing: With their crispy, cheesy, and savory flavors, tater tot appetizer cups are sure to be a hit with both kids and adults.
- No Fuss: These bite-sized cups are convenient and easy to serve, making cleanup a breeze.
Preparation Time and Servings
- Total Time: 1 hour and 10 minutes (10 minutes for prep, 45 minutes for baking)
- Servings: This recipe yields about 12 to 16 appetizer cups, depending on the size of your muffin tin.
- Nutrition Facts (per serving): Calories: 150, Protein: 5g, Carbs: 15g, Fat: 9g.
Ingredients
- For the Tater Tot Cups:
- 1 bag (32 ounces) frozen tater tots: The base of the appetizer cups. These tater tots will form the crispy outer shell.
- 1 tablespoon olive oil: For greasing the muffin tin and adding a little extra crispiness to the tater tots.
- For the Filling:
- 1 cup shredded cheese (cheddar, mozzarella, or a blend): The cheese adds creaminess and richness to the cups. You can use any cheese you prefer.
- ½ cup cooked and crumbled bacon: Adds savory, salty flavor to the cups. You can also substitute with sausage or cooked chicken if you prefer.
- 1/3 cup finely diced bell peppers: Adds color and a slight sweetness to the filling. Feel free to experiment with different veggies.
- ¼ cup finely diced onion: For extra flavor and a bit of crunch.
- 2 large eggs: To bind the filling ingredients together and help them set while baking.
- 1/4 cup sour cream or cream cheese: Adds a creamy texture to the filling and enhances the flavor.
- ½ teaspoon garlic powder: For a touch of savory flavor.
- ¼ teaspoon black pepper: For seasoning.
- Salt, to taste.
- Optional Toppings:
- Fresh chopped cilantro or parsley: To add a fresh, herby flavor on top.
- Extra shredded cheese: To melt on top of the cups for an extra cheesy finish.
- Sour cream: For a cool and creamy topping.
- Hot sauce or salsa: For an extra kick of flavor.
Step-by-Step Preparation
First Step: Prepare the Tater Tot Shells
- Preheat the Oven: Start by preheating your oven to 400°F (200°C). This ensures that your tater tots get crispy and golden brown during baking.
- Grease the Muffin Tin: Use olive oil or non-stick spray to grease the wells of a standard muffin tin. This step is crucial for ensuring that your tater tots don’t stick to the pan and that your appetizer cups come out easily once baked.
- Arrange Tater Tots in Muffin Tin: Place about 4 to 5 frozen tater tots in each muffin well. You want to create a solid layer that will form the base of the cup. Gently press the tater tots into the bottom of the wells, so they create a flat surface. You can use a spoon or your fingers to gently press them down.
- Bake the Tater Tots: Place the muffin tin in the preheated oven and bake for 20-25 minutes, or until the tater tots are crispy and golden brown. While the tater tots bake, you can prepare the filling ingredients.
Second Step: Prepare the Filling
- Cook the Bacon: In a skillet over medium heat, cook the bacon until crispy. This usually takes about 5-7 minutes. Once cooked, remove the bacon from the skillet and set it aside on paper towels to drain any excess grease. After the bacon has cooled, crumble it into small pieces.
- Sauté the Vegetables: In the same skillet, add the diced bell peppers and onions. Sauté for about 3-5 minutes until the vegetables are softened and lightly browned. You don’t want to overcook them; they should still have a bit of texture.
- Combine the Filling Ingredients: In a large mixing bowl, combine the crumbled bacon, sautéed vegetables, shredded cheese, and any other fillings you plan to use. Stir in the eggs, sour cream (or cream cheese), garlic powder, black pepper, and salt. Mix everything together until the filling is smooth and well combined.
- Set the Filling Aside: Once your filling is ready, set it aside while you check the tater tots. The filling will be added to the tater tots once they’ve finished baking.
Third Step: Assemble the Tater Tot Cups
- Fill the Tater Tot Shells: After the tater tots have baked and are golden brown, remove the muffin tin from the oven. Using a spoon, carefully press down in the center of each tater tot nest to create a little well for the filling. You can use the back of a spoon to gently press the tater tots down into a cup shape.
- Spoon in the Filling: Spoon a generous amount of the prepared filling into each tater tot cup. Be sure to pack the filling in tightly so that each cup holds together and is filled all the way to the top. If you’d like, you can sprinkle extra cheese on top of each filled cup for an added cheesy finish.
- Return to the Oven: Place the muffin tin back in the oven and bake for another 10-15 minutes, or until the filling is fully set and the cheese is melted and bubbly. Keep an eye on them to make sure they don’t overcook.
Fourth Step: Add Final Touches and Serve
- Garnish the Cups: After the tater tot appetizer cups have baked, remove them from the oven. If desired, garnish with fresh chopped cilantro or parsley for a pop of color and freshness. You can also top with extra shredded cheese and let it melt slightly before serving.
- Serve Immediately: Let the appetizer cups cool for a few minutes, then carefully remove them from the muffin tin. You can serve them on a platter or individual plates. If desired, serve with a side of sour cream, hot sauce, or salsa for dipping.
How to Serve Tater Tot Appetizer Cups
These tasty tater tot appetizer cups are perfect for a variety of occasions. Here are some ideas for serving them:
1. Game Day Appetizer
Tater tot cups are a great addition to your game day spread. Their bite-sized portions are perfect for snacking while watching the big game. Pair them with chips, dips, and other finger foods for a complete game day feast.
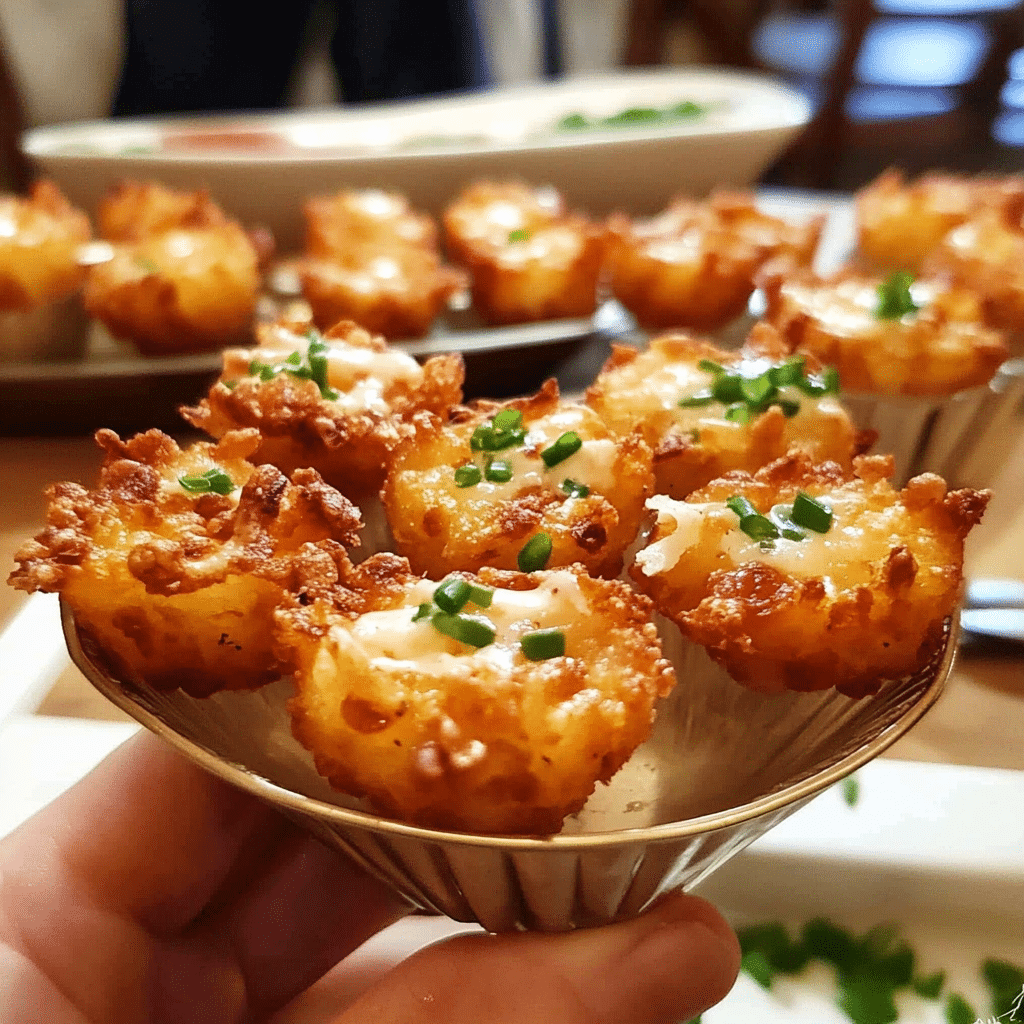
2. Party Platter
For any party, these tater tot cups are sure to impress your guests. Their mini size makes them easy to grab and go, and they are a fun alternative to traditional appetizers like chips and dip. Set them up on a large serving platter for a crowd-pleasing treat.
3. Family Dinner or Potluck
These appetizer cups can also serve as a delicious main course for a casual family dinner or potluck. Pair them with a fresh salad or roasted vegetables for a complete meal.
4. Snack Time or Movie Night
Tater tot appetizer cups are perfect for when you want a savory, hearty snack. Whether you’re settling in for a movie night at home or having a cozy evening with friends, these tasty cups are a great choice.
Additional Tips for Perfect Tater Tot Appetizer Cups
- Use Frozen Tater Tots for Convenience: The key to making these appetizer cups quick and easy is using frozen tater tots. They crisp up perfectly in the oven and create the perfect base for your cups.
- Customize the Fillings: Feel free to experiment with the fillings. Add diced tomatoes, cooked chicken, or even sautéed spinach to make the cups even more flavorful.
- Make Ahead and Freeze: If you’re prepping for a party, you can make these appetizer cups ahead of time. Simply assemble the tater tot cups, freeze them before baking, and bake them when you’re ready to serve.
- Ensure Even Cooking: For the most even cooking, be sure to arrange the tater tots in a single layer at the bottom of each muffin well. Press them gently to form a solid base that holds its shape when baked.
- Don’t Overfill: When adding the filling, make sure not to overfill the cups. You want the filling to stay inside the tater tot shell, not overflow. Packing the filling tightly will also help it set properly.
Recipe Variations
While the basic recipe is a crowd-pleaser, there are plenty of variations you can try. Here are a few ideas to customize your tater tot appetizer cups:
1. Vegetarian Tater Tot Cups
For a meatless version, skip the bacon and fill the cups with sautéed mushrooms, spinach, diced tomatoes, and extra cheese. You can even add black beans for protein.
2. Southwest-Inspired Cups
Add seasoned ground beef or chicken, black beans, corn, and diced jalapeños to the filling for a flavorful southwest twist. Top with some salsa and sour cream before serving.
3. Breakfast Tater Tot Cups
Make a breakfast version by adding scrambled eggs, breakfast sausage, and cheese to the filling. These can be served as a fun and savory breakfast or brunch dish.
4. Buffalo Chicken Tater Tot Cups
Mix shredded cooked chicken with buffalo sauce and blue cheese, then stuff the mixture into the tater tot shells. These spicy, cheesy cups are perfect for game day or a casual party.
Storing and Freezing Tater Tot Appetizer Cups
These tater tot appetizer cups can be stored and reheated if you have leftovers.
- Room Temperature: Tater tot cups are best served fresh, but they can be stored at room temperature for up to a few hours.
- Refrigeration: If you have leftovers, place them in an airtight container and store them in the refrigerator for up to 3 days.
- Freezing: You can freeze the assembled, unbaked tater tot cups. Just place them on a baking sheet, freeze until solid, and then transfer them to a freezer-safe bag or container. Bake from frozen for about 20-25 minutes or until heated through and crispy.
Conclusion
Tater tot appetizer cups are the perfect combination of crispy, cheesy, and savory flavors that everyone will love. These easy-to-make, customizable treats are ideal for any occasion, from casual snacks to party appetizers. With their versatility and deliciousness, these tater tot cups are sure to become a favorite in your recipe repertoire. Whether you’re serving them for a crowd or enjoying them on your own, these tater tot appetizer cups will never disappoint.