
Introduction
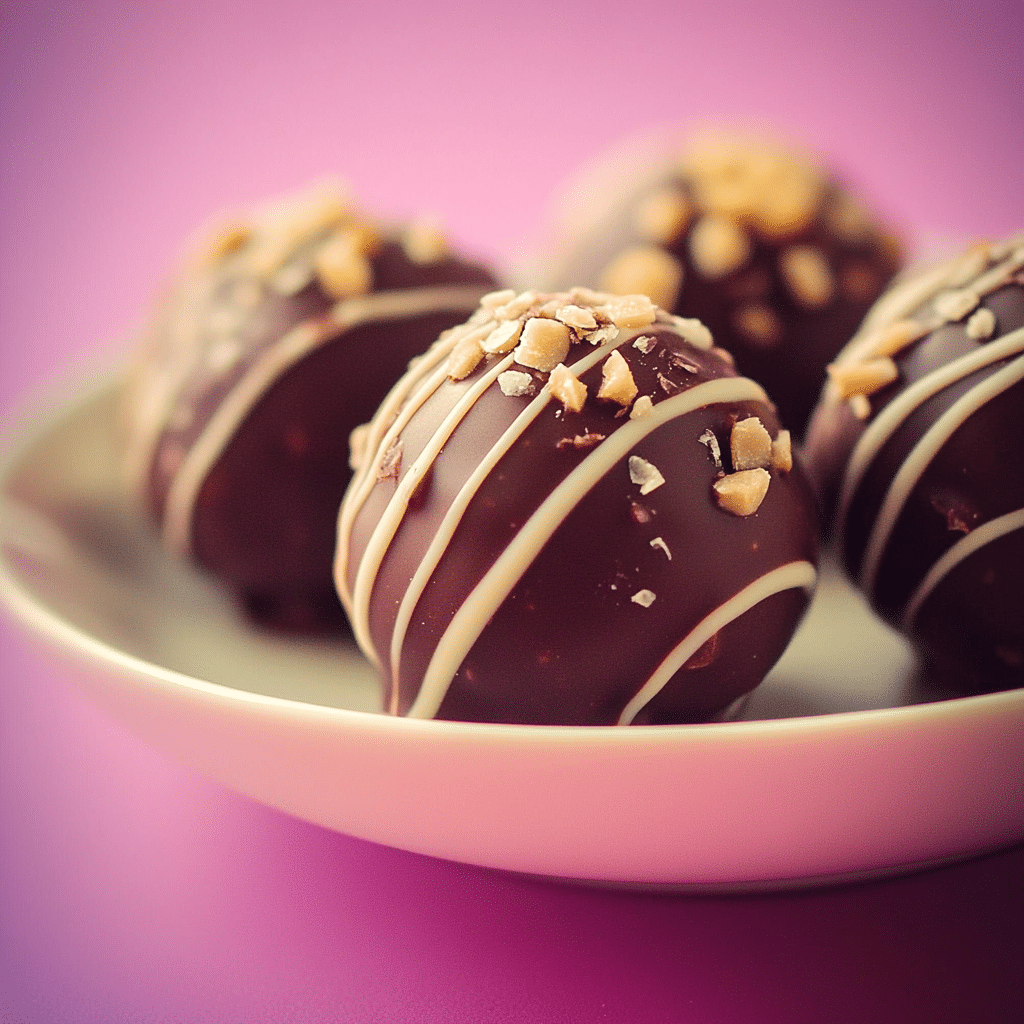
Indulge in the ultimate chocolate experience with Nutella Hazelnut Chocolate Truffles. These creamy, melt-in-your-mouth truffles combine the smooth, rich flavor of Nutella with the crunch of roasted hazelnuts, making them an irresistible treat. Perfect for any occasion, from holiday gifting to everyday indulgence, these truffles are as delightful to make as they are to eat. Whether you’re a Nutella fan or just love decadent chocolate desserts, these truffles are sure to become a favorite.
Creating homemade truffles might seem like a complicated task, but with just a few simple ingredients and easy steps, you’ll be able to make these luscious treats. Plus, they’re versatile enough for you to customize with different coatings or fillings. Whether you prefer a dusting of cocoa powder, a drizzle of melted chocolate, or chopped hazelnuts on the outside, these Nutella Hazelnut Chocolate Truffles are sure to impress.
Perfect for:
- Holiday gifting
- Chocolate lovers
- Special occasions like birthdays, anniversaries, or Valentine’s Day
- Making ahead for parties or gatherings
- A sweet treat to satisfy cravings
Why You’ll Love These Nutella Hazelnut Chocolate Truffles
Here’s why Nutella Hazelnut Chocolate Truffles will become your go-to dessert recipe:
- Decadent Flavor: The combination of Nutella and rich dark chocolate creates a smooth, creamy, and sweet truffle filling, while roasted hazelnuts add a delightful crunch.
- Easy to Make: Despite their elegant appearance, these truffles are incredibly easy to prepare. With just a few basic ingredients and minimal prep time, you’ll have gourmet truffles ready to enjoy.
- Customizable: You can adjust the coatings and fillings to suit your tastes. From rolling them in cocoa powder to drizzling with more Nutella, the possibilities are endless.
- Perfect for Gifting: These truffles make an impressive and personal gift. Pack them in a decorative box, and you’ll have a homemade treat that anyone would love to receive.
- Versatile: You can enjoy these truffles on their own or use them to decorate cakes, cupcakes, or serve them alongside a cup of coffee for an extra-special treat.
Preparation and Cooking Time
- Total Time: 2 hours (including chilling)
- Preparation Time: 20 minutes
- Chilling Time: 1 hour
- Rolling and Coating: 20 minutes
- Servings: Approximately 20-25 truffles
- Calories per serving: Approximately 120-140 calories per truffle
- Key Nutrients: Protein: 2g, Carbs: 10g, Fat: 9g
Ingredients
Here’s everything you’ll need to make these delicious Nutella Hazelnut Chocolate Truffles:
- 1 cup Nutella hazelnut spread (about 280g)
- 8 oz (225g) dark chocolate (preferably 70% cocoa), chopped
- ½ cup heavy cream
- 1 teaspoon vanilla extract
- 1 pinch of salt
- ½ cup roasted hazelnuts, finely chopped (for rolling)
- ¼ cup cocoa powder (for rolling)
- ¼ cup powdered sugar (optional, for rolling)
- Extra melted chocolate (for drizzling, optional)
Ingredient Highlights
- Nutella: The star of these truffles, Nutella adds a creamy, rich texture and a sweet hazelnut-chocolate flavor that pairs perfectly with the dark chocolate.
- Dark Chocolate: The dark chocolate provides a slightly bitter note that balances the sweetness of the Nutella and makes the truffles taste more luxurious.
- Heavy Cream: Heavy cream creates a smooth and velvety texture for the truffle filling, allowing the chocolate and Nutella to combine perfectly.
- Vanilla Extract: A splash of vanilla enhances the overall flavor of the truffles, adding depth and a subtle warmth to the chocolate mixture.
- Roasted Hazelnuts: The hazelnuts bring a crunchy texture and nutty flavor that complement the creamy chocolate filling.
Step-by-Step Instructions
Follow these simple steps to make the perfect Nutella Hazelnut Chocolate Truffles:
First Step: Prepare the Truffle Filling
- Melt the Chocolate: Begin by chopping the dark chocolate into small pieces. Place it in a heatproof bowl and set aside.
- Heat the Cream: In a small saucepan, heat the heavy cream over medium heat until it begins to simmer (do not bring it to a boil). You’ll want the cream hot enough to melt the chocolate, but not boiling.
- Combine Cream and Chocolate: Pour the hot cream over the chopped chocolate. Let it sit for a few minutes, then stir gently until the chocolate is fully melted and the mixture is smooth and glossy.
- Add Nutella: Stir in the Nutella hazelnut spread until fully combined with the chocolate mixture. Add the vanilla extract and a pinch of salt, and mix again until smooth.
- Chill the Mixture: Cover the bowl with plastic wrap and refrigerate the truffle filling for about 1 hour, or until it becomes firm enough to scoop and roll.
Second Step: Shape the Truffles
- Scoop the Truffle Filling: Once the mixture is firm, remove it from the refrigerator. Using a small spoon or melon baller, scoop out small portions of the truffle filling and roll them into balls using your hands. Each truffle should be about 1 inch in diameter.
- Prepare the Coatings: Set up a coating station with small bowls of finely chopped roasted hazelnuts, cocoa powder, and powdered sugar. You can also drizzle some melted chocolate over the truffles as an extra coating.
Third Step: Coat the Truffles
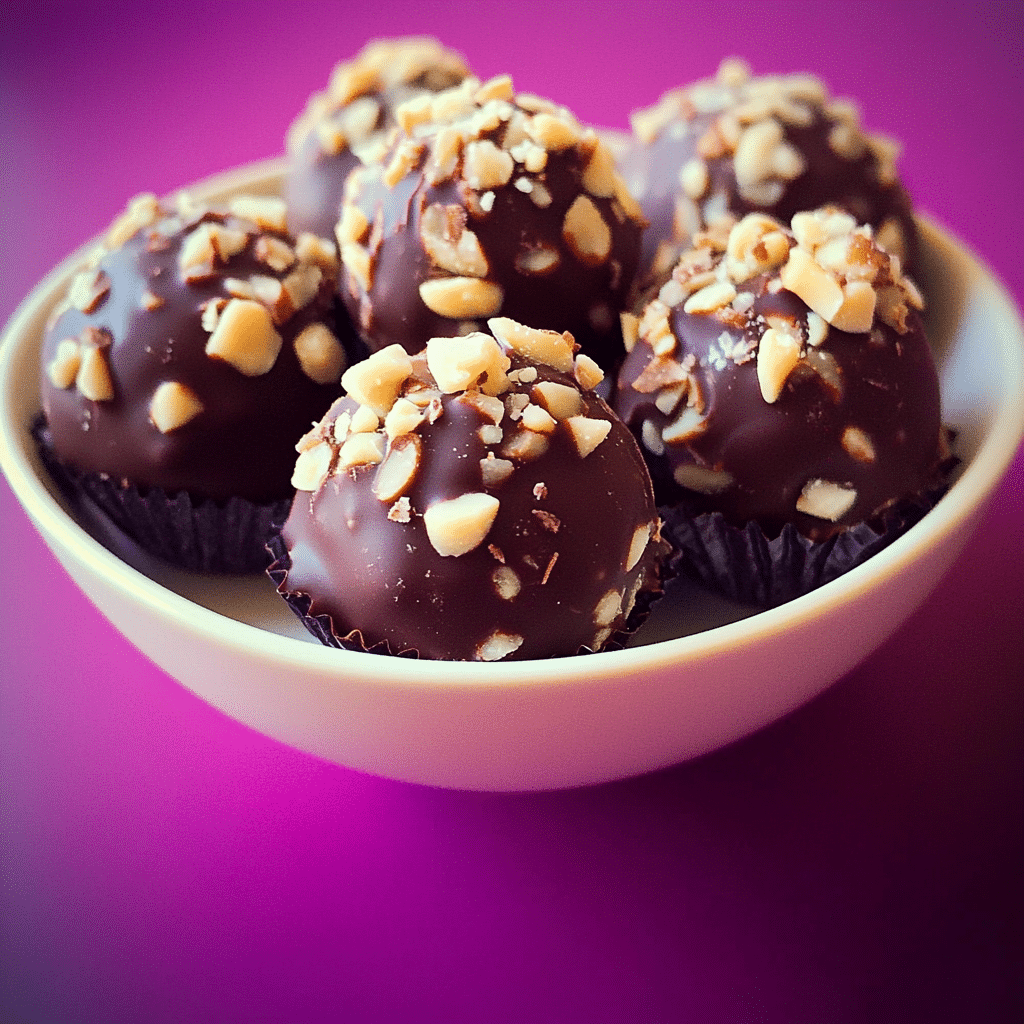
- Roll in Hazelnuts: Roll each truffle in the chopped hazelnuts until fully coated, pressing gently so the nuts stick. You can also roll them in cocoa powder for a classic chocolate coating or powdered sugar for a sweeter finish.
- Drizzle with Chocolate (Optional): If you want to add a little extra flair, drizzle some melted dark chocolate over the top of each truffle using a spoon or piping bag for a decorative touch.
Fourth Step: Chill and Serve
- Chill the Truffles: Once the truffles are coated, place them back in the refrigerator for 15-20 minutes to set. This helps the coatings firm up and ensures the truffles hold their shape.
- Serve: After chilling, your Nutella Hazelnut Chocolate Truffles are ready to be served! Enjoy them as a decadent dessert or a delightful snack.
How to Serve Nutella Hazelnut Chocolate Truffles
Nutella Hazelnut Chocolate Truffles are perfect on their own, but you can also serve them in various ways:
- As a Dessert Platter: Arrange the truffles on a decorative platter along with other bite-sized desserts, such as mini cookies, fruit, and chocolates, for a decadent dessert spread.
- With Coffee or Tea: Pair these rich truffles with a hot cup of coffee or tea for an indulgent afternoon treat.
- For Gift-Giving: Package the truffles in a small gift box or jar with a bow for a thoughtful homemade gift. They’re perfect for holidays, birthdays, or special occasions.
- With Ice Cream: Serve the truffles with a scoop of vanilla or hazelnut ice cream for an extra-special dessert.
Additional Tips for Nutella Hazelnut Chocolate Truffles
Here are some tips to ensure your Nutella Hazelnut Chocolate Truffles turn out perfectly every time:
- Use High-Quality Chocolate: The quality of the chocolate plays a significant role in the final flavor of your truffles. Opt for a high-quality dark chocolate with at least 70% cocoa for the best results.
- Work Quickly: When rolling the truffles, work quickly to avoid melting the filling with the heat from your hands. If the mixture becomes too soft, simply refrigerate it again for a few minutes before continuing.
- Customize the Coatings: You can experiment with different coatings, such as finely chopped dried fruit, chocolate sprinkles, or even a dash of sea salt for a savory contrast.
- Chill Between Steps: If the truffle mixture gets too soft or sticky while rolling, place it back in the refrigerator for a few minutes to firm up. This will make it easier to handle.
- Make Ahead: You can make the truffles ahead of time and store them in the refrigerator for up to a week. They also freeze well for longer storage.
Recipe Variations for Nutella Hazelnut Chocolate Truffles
Here are 10 variations of Nutella Hazelnut Chocolate Truffles that you can try:
- Milk Chocolate Truffles: Replace the dark chocolate with milk chocolate for a sweeter, creamier truffle filling.
- White Chocolate Hazelnut Truffles: Use white chocolate instead of dark chocolate for a different flavor profile and creamier texture.
- Orange Infused Truffles: Add a teaspoon of orange zest or a few drops of orange extract to the truffle filling for a zesty twist.
- Coconut-Coated Truffles: Roll the truffles in shredded coconut for a tropical flavor and texture.
- Mint Chocolate Truffles: Stir in a few drops of peppermint extract to the truffle filling for a refreshing minty version.
- Espresso Hazelnut Truffles: Add a teaspoon of instant espresso powder to the filling for a rich, coffee-flavored truffle.
- Almond Joy Truffles: Incorporate chopped almonds into the truffle mixture, then coat the truffles in crushed almonds.
- Salted Caramel Hazelnut Truffles: Add a touch of caramel sauce to the truffle mixture and sprinkle with sea salt for a sweet-and-salty twist.
- Raspberry Hazelnut Truffles: Add a spoonful of raspberry jam to the truffle filling for a fruity version of these truffles.
- Chili Chocolate Truffles: For a spicy kick, add a pinch of cayenne pepper or chili powder to the truffle filling.
Freezing and Storage for Nutella Hazelnut Chocolate Truffles
- Freezing: Nutella Hazelnut Chocolate Truffles can be stored in the freezer for up to 3 months. Simply place the truffles in a single layer on a baking sheet and freeze for about 30 minutes. Once frozen, transfer the truffles to an airtight container or freezer-safe bag. To thaw, leave them at room temperature for about 15-20 minutes before serving.
- Storage: Store the truffles in an airtight container in the refrigerator for up to one week. Allow them to come to room temperature for the best flavor and texture before serving.
Special Equipment for Nutella Hazelnut Chocolate Truffles
Here are a few pieces of equipment that will make making Nutella Hazelnut Chocolate Truffles easier:
- Heatproof Bowl: A heatproof bowl is essential for melting the chocolate and mixing the ingredients together.
- Small Scoop or Melon Baller: A small scoop helps create evenly sized truffles that will look professional and consistent.
- Double Boiler or Microwave-Safe Bowl: For melting the chocolate, you can use a double boiler or microwave-safe bowl to ensure the chocolate melts gently and doesn’t burn.
- Parchment Paper or Wax Paper: Lining the baking sheet with parchment or wax paper makes it easier to transfer the truffles once they’re finished rolling.
- Piping Bag (Optional): If you’re adding drizzles or decorative toppings, a piping bag can make the process more precise and neat.
FAQ Section about Nutella Hazelnut Chocolate Truffles
- Can I use a different nut besides hazelnuts? Yes! You can use almonds, walnuts, or pistachios as an alternative to hazelnuts for a different flavor.
- Do I have to use Nutella? While Nutella is the traditional choice for these truffles, you can also use any hazelnut spread if you prefer a different brand or a nut-free alternative.
- Can I use chocolate chips instead of bar chocolate? Yes, chocolate chips can be used, but chopping bar chocolate results in a smoother melt, which may give your truffles a better texture.
- Can I make these truffles dairy-free? Yes, you can substitute the heavy cream with coconut cream or another dairy-free cream alternative. Be sure to use dairy-free chocolate as well.
- How can I make these truffles even more indulgent? Add a small piece of whole hazelnut in the center of each truffle for an extra crunch or a gooey surprise when you bite into them.

Nutella Hazelnut Chocolate Truffles
- Total Time: 2 hours (including chilling)
Ingredients
Here’s everything you’ll need to make these delicious Nutella Hazelnut Chocolate Truffles:
- 1 cup Nutella hazelnut spread (about 280g)
- 8 oz (225g) dark chocolate (preferably 70% cocoa), chopped
- ½ cup heavy cream
- 1 teaspoon vanilla extract
- 1 pinch of salt
- ½ cup roasted hazelnuts, finely chopped (for rolling)
- ¼ cup cocoa powder (for rolling)
- ¼ cup powdered sugar (optional, for rolling)
- Extra melted chocolate (for drizzling, optional)
Ingredient Highlights
- Nutella: The star of these truffles, Nutella adds a creamy, rich texture and a sweet hazelnut-chocolate flavor that pairs perfectly with the dark chocolate.
- Dark Chocolate: The dark chocolate provides a slightly bitter note that balances the sweetness of the Nutella and makes the truffles taste more luxurious.
- Heavy Cream: Heavy cream creates a smooth and velvety texture for the truffle filling, allowing the chocolate and Nutella to combine perfectly.
- Vanilla Extract: A splash of vanilla enhances the overall flavor of the truffles, adding depth and a subtle warmth to the chocolate mixture.
- Roasted Hazelnuts: The hazelnuts bring a crunchy texture and nutty flavor that complement the creamy chocolate filling.
Instructions
First Step: Prepare the Truffle Filling
- Melt the Chocolate: Begin by chopping the dark chocolate into small pieces. Place it in a heatproof bowl and set aside.
- Heat the Cream: In a small saucepan, heat the heavy cream over medium heat until it begins to simmer (do not bring it to a boil). You’ll want the cream hot enough to melt the chocolate, but not boiling.
- Combine Cream and Chocolate: Pour the hot cream over the chopped chocolate. Let it sit for a few minutes, then stir gently until the chocolate is fully melted and the mixture is smooth and glossy.
- Add Nutella: Stir in the Nutella hazelnut spread until fully combined with the chocolate mixture. Add the vanilla extract and a pinch of salt, and mix again until smooth.
- Chill the Mixture: Cover the bowl with plastic wrap and refrigerate the truffle filling for about 1 hour, or until it becomes firm enough to scoop and roll.
Second Step: Shape the Truffles
- Scoop the Truffle Filling: Once the mixture is firm, remove it from the refrigerator. Using a small spoon or melon baller, scoop out small portions of the truffle filling and roll them into balls using your hands. Each truffle should be about 1 inch in diameter.
- Prepare the Coatings: Set up a coating station with small bowls of finely chopped roasted hazelnuts, cocoa powder, and powdered sugar. You can also drizzle some melted chocolate over the truffles as an extra coating.
Third Step: Coat the Truffles
- Roll in Hazelnuts: Roll each truffle in the chopped hazelnuts until fully coated, pressing gently so the nuts stick. You can also roll them in cocoa powder for a classic chocolate coating or powdered sugar for a sweeter finish.
- Drizzle with Chocolate (Optional): If you want to add a little extra flair, drizzle some melted dark chocolate over the top of each truffle using a spoon or piping bag for a decorative touch.
Fourth Step: Chill and Serve
- Chill the Truffles: Once the truffles are coated, place them back in the refrigerator for 15-20 minutes to set. This helps the coatings firm up and ensures the truffles hold their shape.
- Serve: After chilling, your Nutella Hazelnut Chocolate Truffles are ready to be served! Enjoy them as a decadent dessert or a delightful snack.
- Prep Time: 20 minutes
- Chilling: 1 hour
Nutrition
- Serving Size: 20-25 truffles
- Calories: 120-140
- Fat: 9g
- Carbohydrates: 10g
- Protein: 2g
Conclusion of Nutella Hazelnut Chocolate Truffles
Nutella Hazelnut Chocolate Truffles are the perfect balance of rich chocolate, smooth Nutella, and crunchy hazelnuts. With their simple ingredients, ease of preparation, and endless customization options, these truffles are bound to become a favorite in your dessert repertoire. Whether you’re making them for a special occasion, as a gift, or simply to treat yourself, these decadent truffles will impress everyone who tastes them. Enjoy the process of making them and, of course, savor the delicious results!